- It is safe to use around my 2 year old. (This is the most important reason to me.) This is the same dye that is used in our foods, so I'm pretty sure that throwing it in the oven is safe.
- I don't have to wear a mask. Yay! (Gloves, however, are recommended. Unless you like having pink fingers.)
- Food coloring is very accessable...available at the local grocer.
- Cost...food coloring is CHEAP. I don't know the exact weight, but I dyed about 8 skeins of yarn with a box of four colors, and still had a bit of food coloring left over. Considering the intensity of the colors, I'm impressed.
- Staying power...colorfast like a mofo
- Easy to use...details to follow
You will need:
- Food coloring: I used the drops. I have not worked with the past or powder as of yet.
- Gloves
- Vinegar
- Water
- An oven...you can also use the microwave, but I use the oven. You can just throw it in there and let it cook. Easy as pie. Literally.
- Yarn or Fiber...a protein based fiber. Cotton and man made fibers will not dye with food coloring.
- Something to mix the food coloring and water in. It would probably be easiest to use a measuring cup with a pouring spout, but I didn't have that handy. I just used small liquor glasses and spooned the mixture where I wanted it on the yarn.

1. Place yarn/wool in a pot of water with 1 cup of vinegar. Let soak overnight.

2. Transfer yarn from pot to glass bakepan. I prefer glass because you can check the bottom before putting the bakepan in the oven to see if the dye has saturated the yarn thoroughly. (note: I drain the yarn *a little* and leave enough moisture to mix with the dyebath. If you totally drain it, the colors will be more intense and you will have more control over the color, but you will also have to use considerably more dye.) Preheat the oven to 300 degrees.

3. For this yarn, I used McCormick Neon Food Coloring shades purple, blue and yellow/green.

4. The glasses on the left show where I mixed the shades. It wasn't an exact science...I would put 10-12 drops in a glass, add a few tablespoons of water from the tap, and pour it over the yarn with a spoon. I did this enough to saturate the yarn. Make sure to check the bottom to see that the dye is reaching the deepest layer...if not you will have white areas, which is fine if that is what you are going for.

5. This was my second batch. I used all four colors in the box for these, and didn't really plan it. The top yarn was originally light blue, and the bottom was a white yarn.

6. Cover the yarn in aluminum foil, and place in the oven on 300 degrees for 30-40 minutes. You will know the dye has set when the liquid in the pan is clear. (This means you have "exhausted" the dye and the fiber has taken all of it up.)
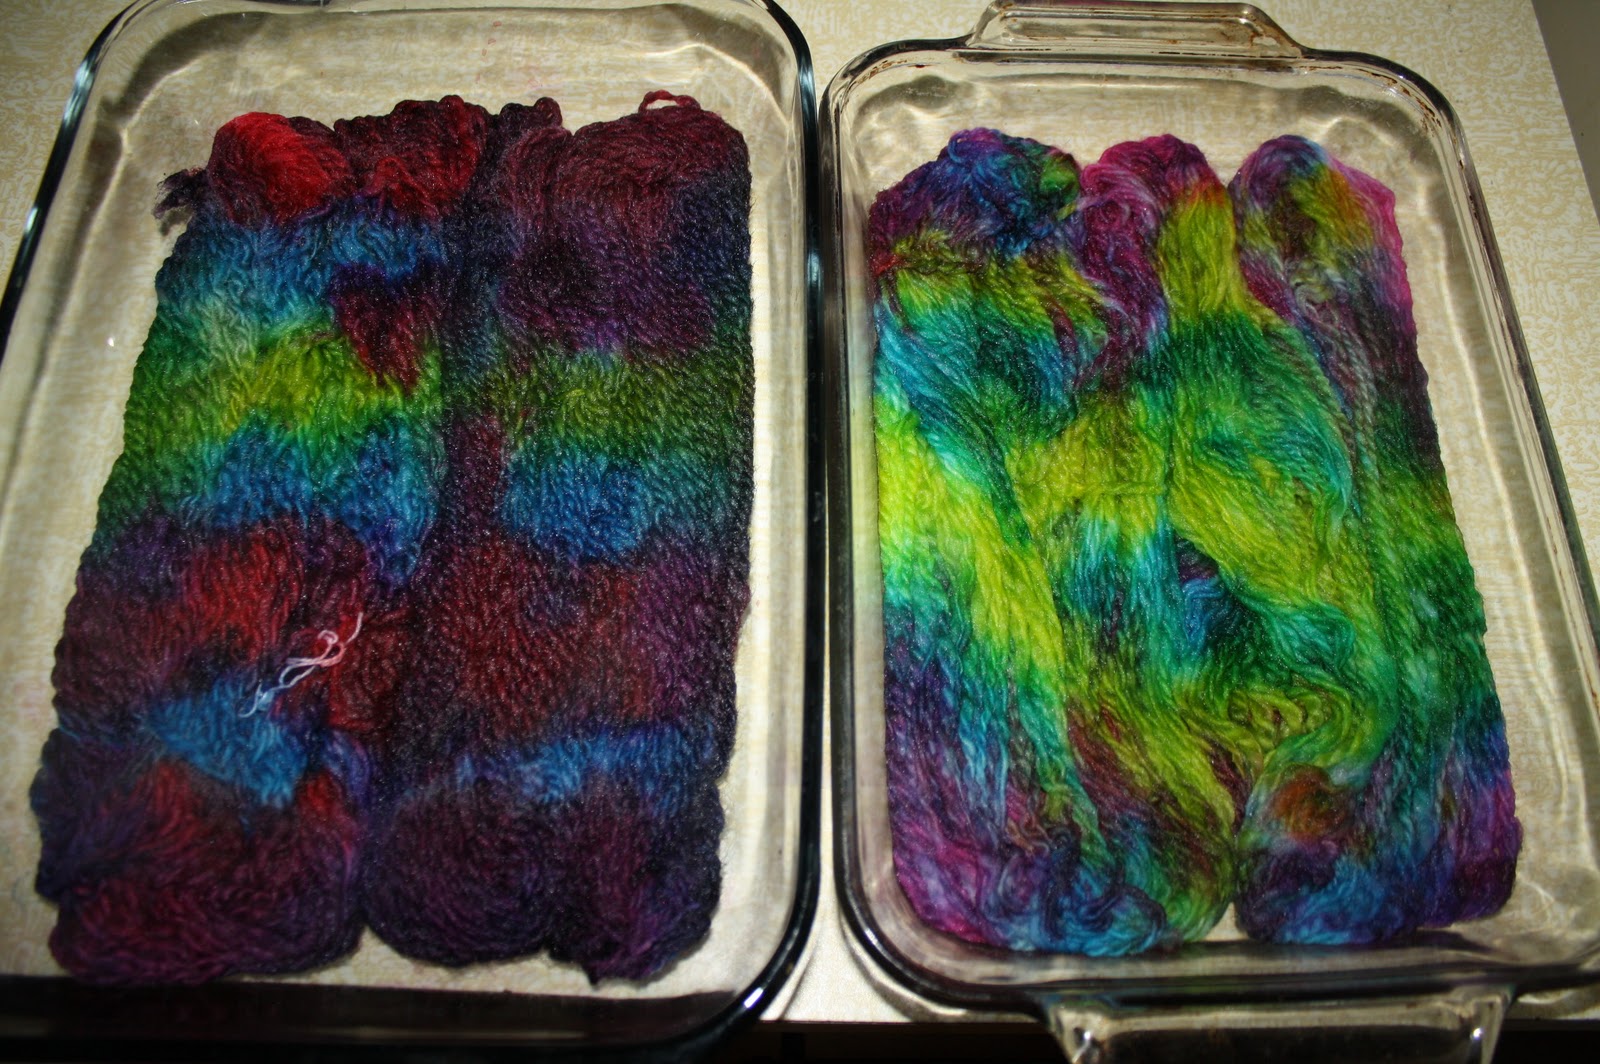
7. Aaand...voila! Here is the yarn coming out of the oven. Allow the yarn to cool for a few hours, give it a few rinses in the sink full of warm (or whatever matches the water in the yarn) water. I then take my yarn outside and "wuzz" it, meaning swing it aroud in circles allowing the water to fling out. You don't have to do this, but it will dry faster. Then hang to dry.

And the final product! All dried and purdied up. More pics to follow. :)
No comments:
Post a Comment